As most of you know, baby books are an addiction for me and so is making books out of them. You can see one project I made with one here. I thought I'd done a blog post on more of them but I guess I didn't. I'll make sure that makes it into the schedule. :)
But here's simple album I made for one of my friends that just started her own embroidery business. It was her birthday on the 18th and I made her this to use as a catalog or scrapbook for what she makes/made!
The covers of the book were made with just plain cardboard that I painted pink (her favorite color) and used my Disney Classics Cricut Cartridge to use the Tweedle's bow in her other favorite color. I outlined the bow with black glitter and used my Cricut (Ornamental Iron 2 cartridge) to cut out the words of her Business.
The inside pages are the sturdy kind from a baby book that I rounded the edges with my Crop-a-Dile corner rounder and painted them black.
For the back cover I did the same as the front but put when he business was established (I signed it afterwards) and I also bought her metallic markers so that she can write on the black pages. I just used some binder rings to keep everything together.
I know. I know. I've been a bad blogger and haven't updated every project just like I said that I would.
BUT. I do have a bunch of projects to share with you and the first one is the February Creative Dare from Tracy Weinzapfel . This woman pushes my creative limits THAT'S FOR SURE. :) I participated in my first swap through her and our Mixed Media Facebook Group is a great place to meet new amazing artists and friends (even though I'm the baby of the group!). Okay. Enough with the mushy gushy blahblah. Haha. Here's what I made for this month!
The prompt was to make something using something on your bucket list. So here's my page in my Big Mama Journal (she's 11X14).
Go to Seattle, WA
For this page, I kept it simple. Sometimes that's the best medicine. I gessoed the pages, mod podged the picture of Seattle (printed from Google) and embedded it in the background with gesso around the edges to make them disappear. Then I took my giant bottle of black Tempera Paint (Not DecoArt! Sorry!) and started started to circle the picture with a mixture of white paint and the black to get a gradient effect to it.
The blue is "Bahama Blue" by Americana that I squeezed into a little bottle that has a fine point tip (got them from Hobby Lobby. 3 for $2.99) and just started to make the circles and make them drip. I blotted them with my wash cloth and got another effect!
I used the same color to write "go to seattle, wa"
Overall, I'm satisfied with it and I'm starting to get used to this sketchbook for my mixed media. I'm determined to fill it by the end of the year and so far so good! :)
I hope you take the challenge or join our group to become inspired and take a chance and push your limits.
I honestly cannot believe it. I haven't really been doing much. My beautiful shoe storage didn't last long because it fell off the door. I did finish the Lucy portrait (just not the one I started in my sketchbook, ironically enough) and I love the way she turned out.
I originally had it drawn in my massive sketchbook but I was so afraid to start it. So I took a 12X12 piece of photo matting board that I got at Hobby Lobby and I redrew her onto the board and painted her using gouache. I use the Reeve's brand of gouache and it's in the violet and white. Those are the only two colors I used on Lucy herself. The background is turquoise gouache by Reeves as well. I'm really proud of her. :)
I just did this painting about an hour ago. I had originally had another idea for this elephant but then I fell in love with another idea that was in my head so I decided to go with that one because it was in my head.
I used a grid for both of these paintings and I'm finding that they work really well for me. If you want to know more about how I did it (it's kind of a process in my head) just send me a comment or e-mail me. In the end, I'm extremely proud of both of these paintings.
Living in the dorm rooms, I have no space for any art supplies and I have been in a bind this semester with storage ideas because I'm living in a smaller place. I've been using 2 of my dresser drawers for art supplies and I just cleared up a bunch of space with this little gem of an idea. I think it came from Jean in the Mixed Media group I'm in on Facebook and I love it. So THANK YOU, JEAN!!! It's absolutely genius! :)
Total cost = about $11 (little expensive for me but I had to make it work for my own sanity).
SO! Grab yourself an over the door shoe rack from Walmart/Dollar Tree/your preferred retailer AND HANG IT UP. Haha! That's it! Unfortunately for me, the doors are too thick for the wire hooks that come with the organizer so I had to buy 4 3M hooks (the ones that hold about 3 lbs each). I followed the directions, hung it up and filled it with most of my stuff that I use all the time or were causing clutter somewhere in room. Needless to say, I'm happy!
Here are some of the stills I took and there will be a video tour at the end! :D
I put a lot of thought into what my "word" would be for this year. Last year was rough and this year didn't start out any better. But I believe that this year will bring wonderful changes, wonderful paintings and hopefully some wonderful adventures. So my word of the year is
I woke up to news that a high school friend of mine and my boyfriend's died at 3:30 this morning. So I'd like to take a moment and say Rest In Peace to Codie. He will surely be missed by all of our band alumi. And to my followers, I wish you and your family a healthy and happy new year and to say I love you whenever you can and to hold your loved ones close.
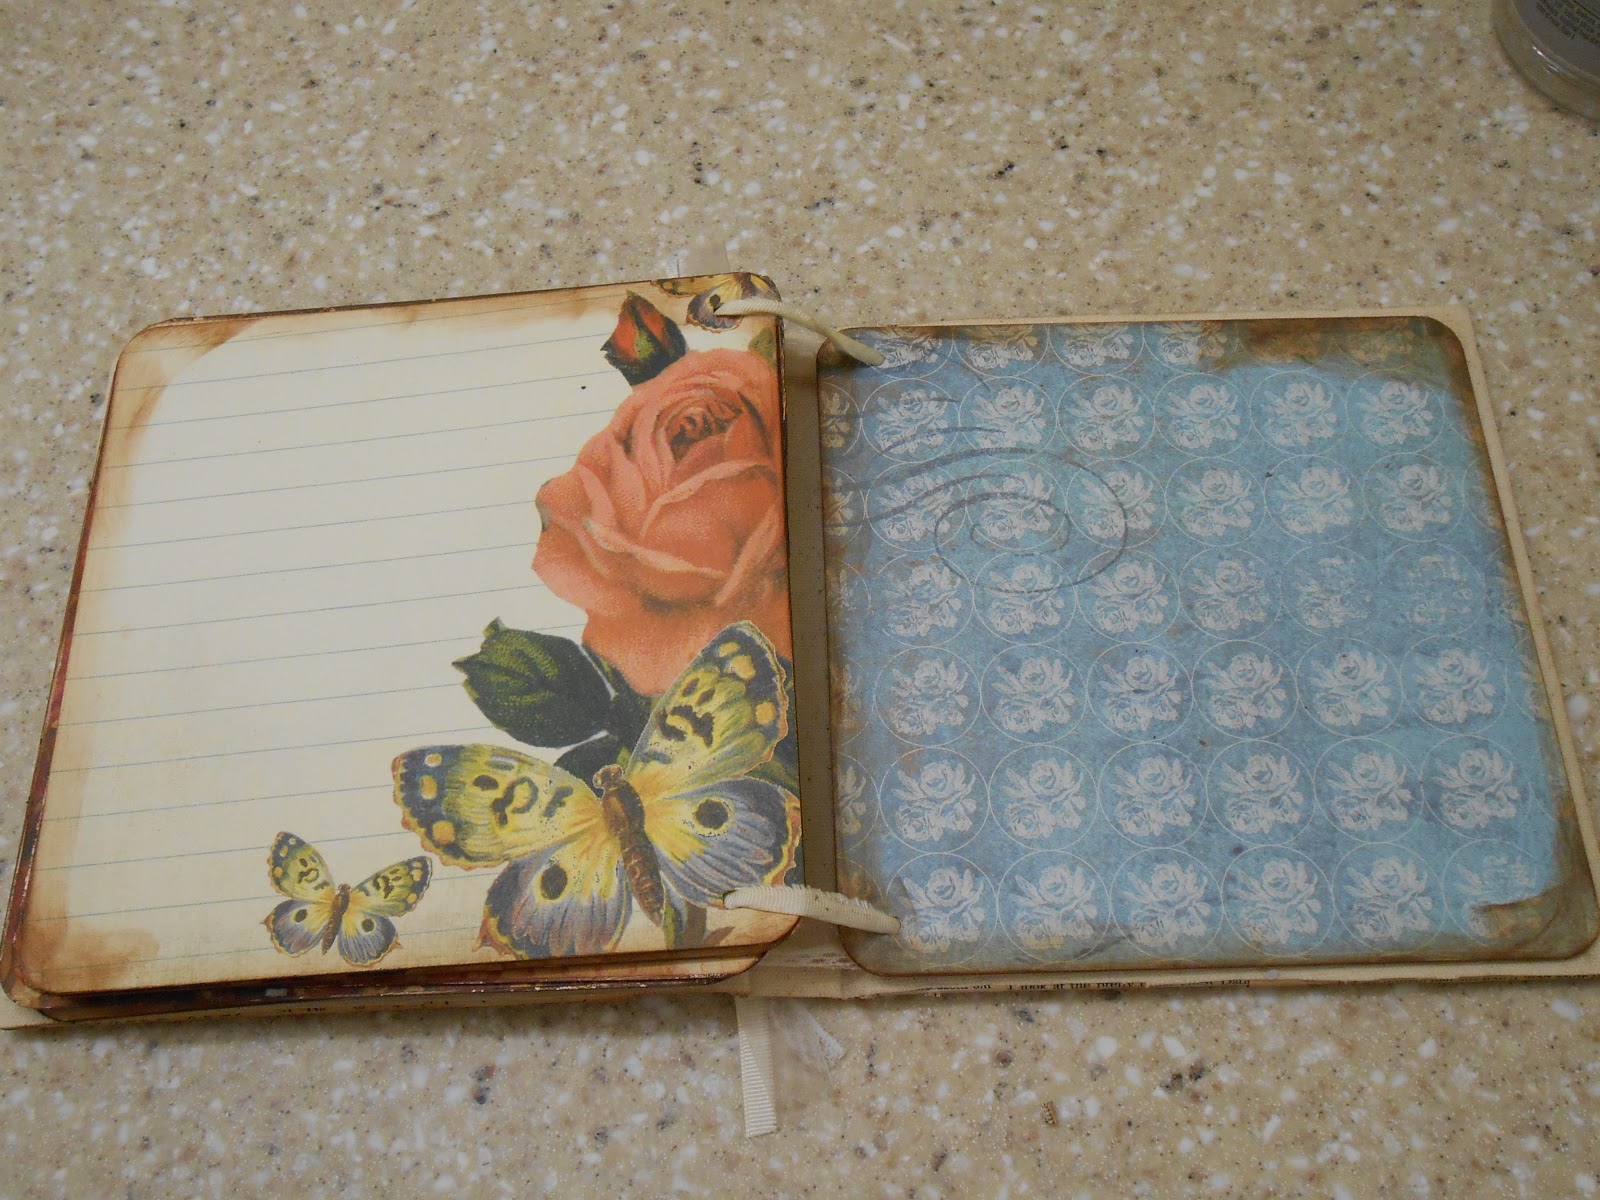
On a lighter, more creative note, I have a project that I've been working on for a bit that is finally finished. I'm calling it the "Rosewood Album." You can see it in my previous post for a minute. But here is the finished album! I'm really proud of it. I had done a process video of it but didn't like the way it was piecing together so I tossed it.
This album was made out of a baby book I found at Goodwill for $.75 and I took out the pages, left the covers and spine, covered the outside with old book pages, white paint to dull it down and inked the edges. The inside is covered with raw canvas and I used my crop-a-dile to punch the holes to bind it. :)
Here's the video!
The cover also has a butterfly that I dipped in UTEE (I'll have a tutorial for that soon!)
The red papers in this album were a little overwhelming for me because I'm not a "red" person. So I added a pocket and a tag to break it up.
For this red page, I broke up up with a pocket and tag. This pocket also has a UTEE dipped flower cut out from the paper line.
I hope you all liked this. Leave your comments and questions!